Building a web hosting company's own website takes eight steps in MaxHost. MaxHost pairs nine hosting demos with WHMCS client area templates that install without a bridge plugin, so your marketing site and billing area match. You set up hosting, install WordPress and the theme, import a demo, template WHMCS, and launch.
This guide first separates building a hosting business site from hosting a website, the more common search meaning. Then it walks all eight MaxHost steps, covers pricing tables, domain search, and WooCommerce, and answers the setup questions resellers ask most.
Building a Web Hosting Website vs. Hosting a Website: Which One Do You Mean?
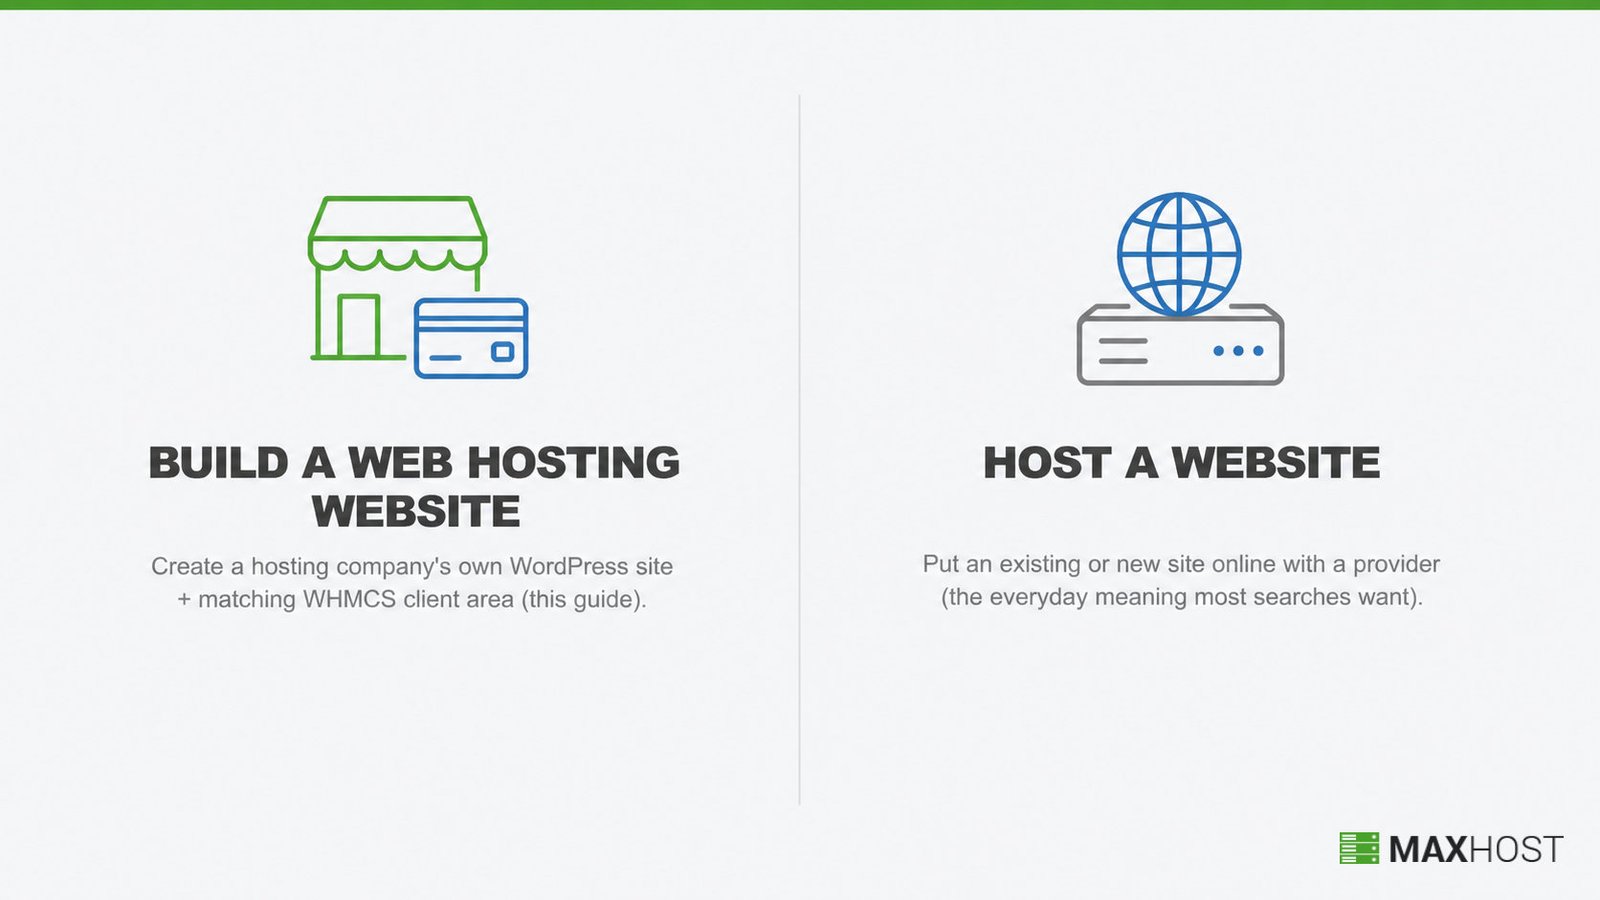
Building a web hosting website means creating a hosting company's own WordPress marketing site and WHMCS client area, the topic this guide covers. Hosting a website means putting an existing or new site online with a provider, the everyday meaning most searches for this phrase actually want.
Searched to put your own site online instead? Start with what is web hosting rather than this guide. Need a general business website instead of a hosting specific one? See how to make a business website with WordPress.
This guide builds the hosting business version, in MaxHost, a hosting WordPress theme with matching WHMCS templates. Here is how to build it, step by step.
Before You Begin: What You Need in MaxHost
MaxHost needs WHMCS 8.8.x through 9.0.x, a Regular License for most builds, and WPBakery or Elementor as your page builder. Download it from your ThemeForest account before Step 1.
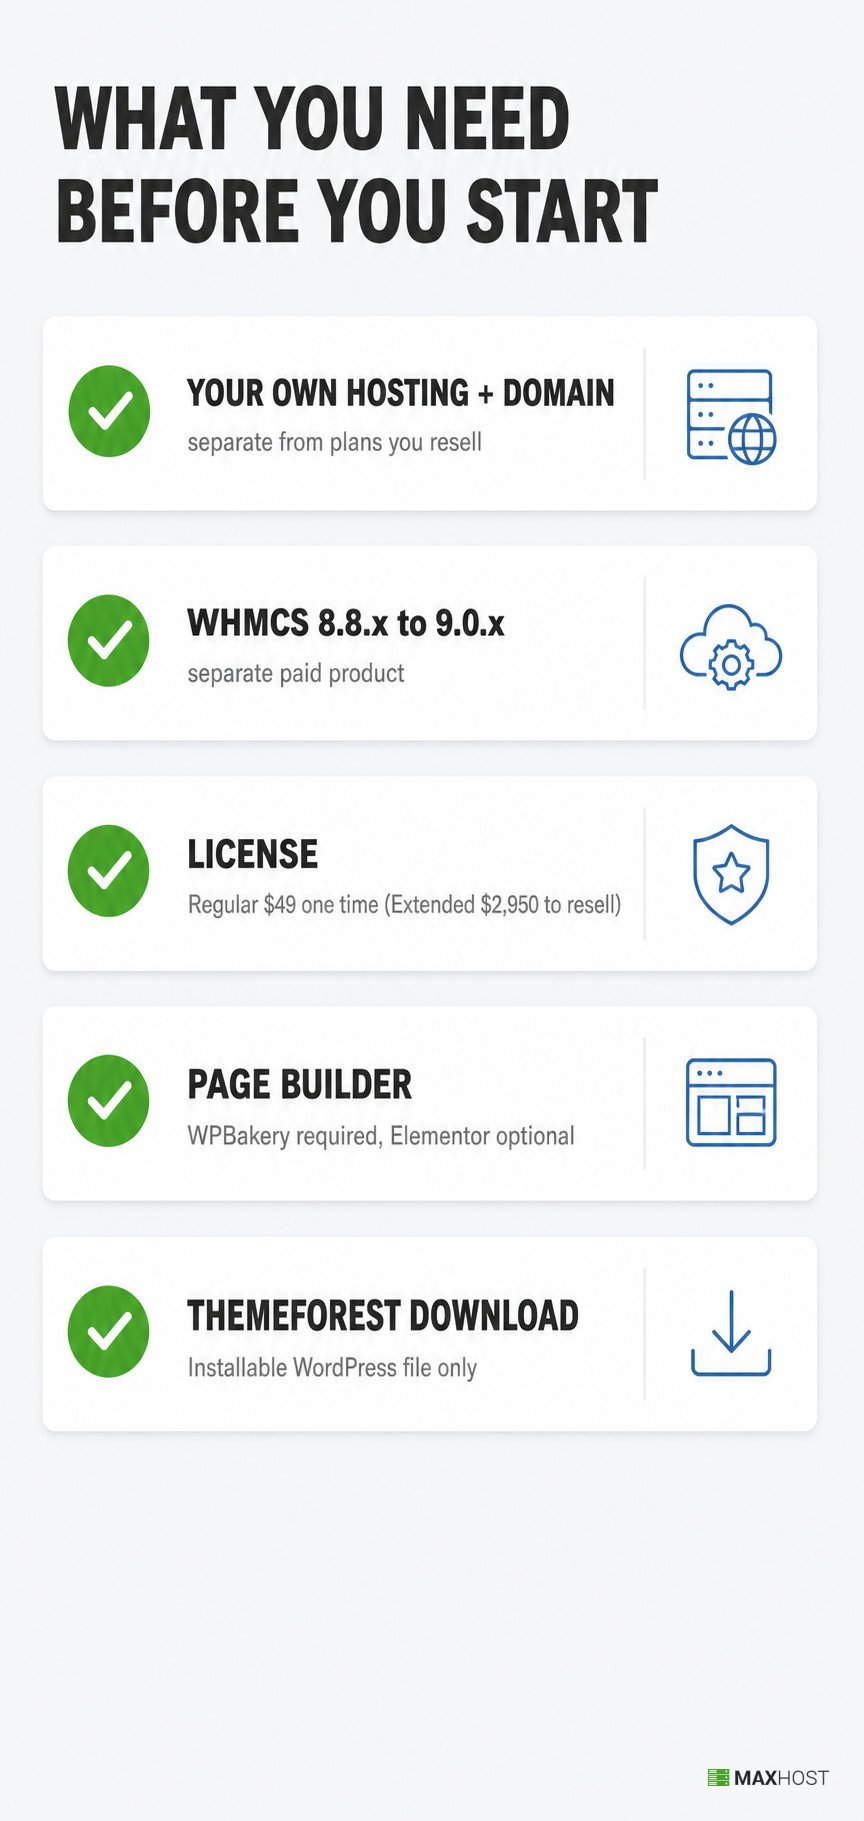
Confirm the following before you start.
- Your own hosting and domain: a WordPress compatible hosting account and a registered domain for your hosting company's site, separate from the plans you resell to customers
- WHMCS version: 8.8.x through 9.0.x supported; upgrade first if you run an older release. WHMCS is a separate paid product, licensed on its own recurring plan
- License: Regular License, $49 one time, if you are not reselling the finished site; Extended License, $2,950, if you are
- Page builder: WPBakery, required for the imported demo to display correctly, plus Elementor if you prefer building in it
- Starting point: your ThemeForest account, Downloads, then "Installable WordPress file only"
MaxHost is built specifically as a WordPress theme for a web hosting company, rated 4.69 out of 5 across 48 ratings on ThemeForest. Have not settled the business side yet? See how to start a web hosting business before you build the site itself.
See the full build before you commit: view the MaxHost demo.
How to Build a Web Hosting Website in MaxHost: Step-by-Step
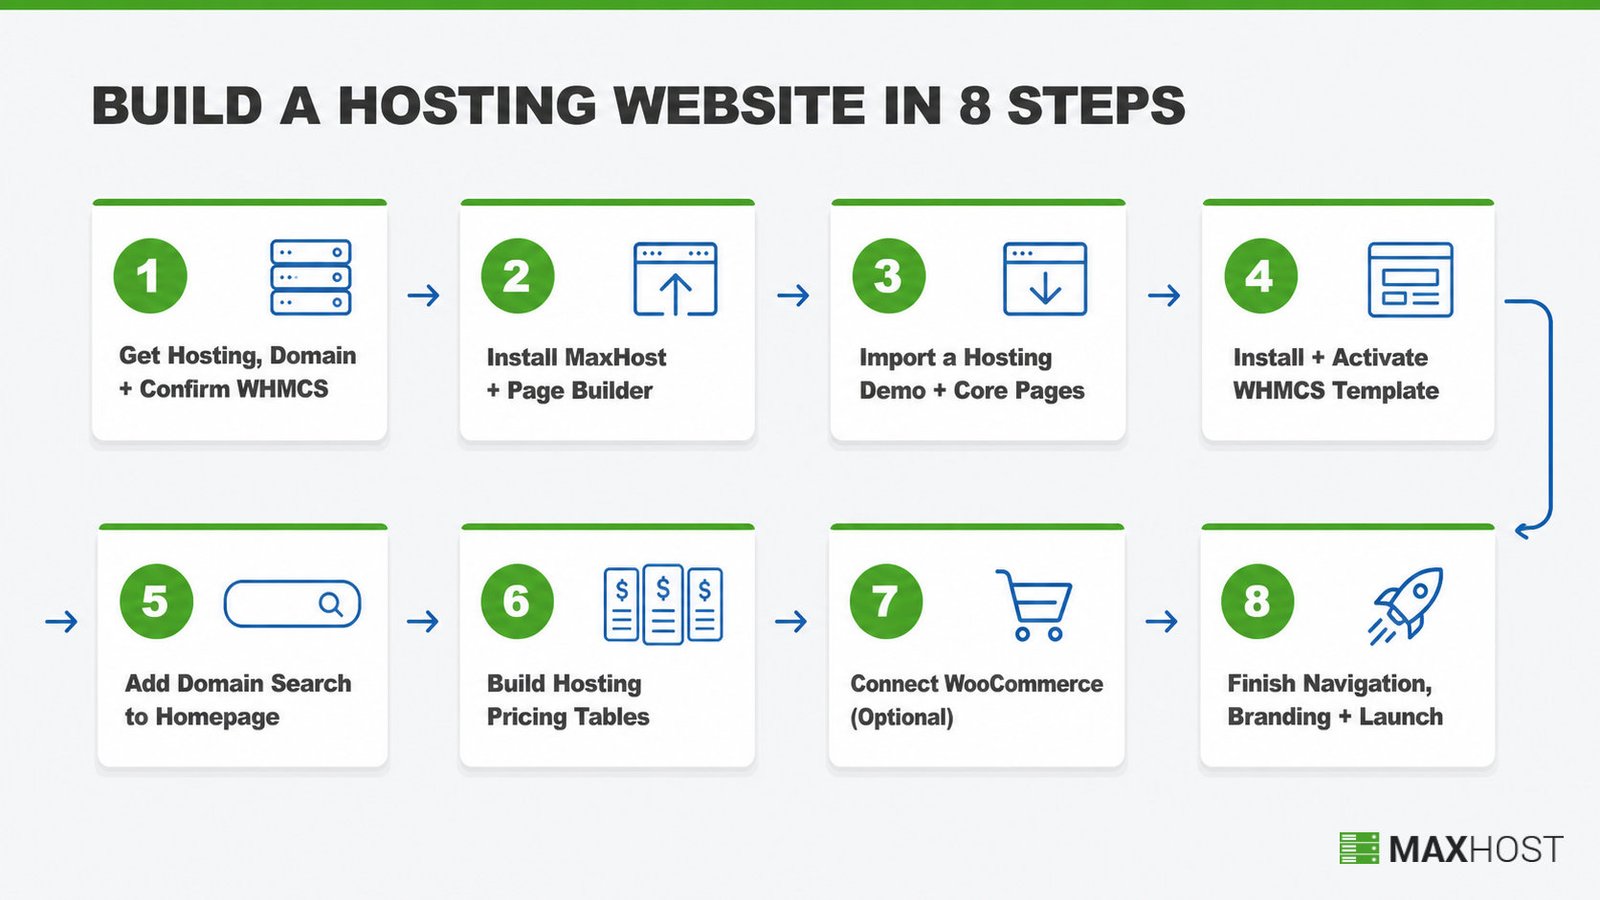
Building your hosting company's site in MaxHost runs in eight steps, from hosting and WordPress setup through WHMCS templating to launch.
Step 1: Get Hosting, a Domain, and Confirm Your WHMCS Setup
Done looks like a live WordPress install on your own domain, plus a working WHMCS 8.8.x through 9.0.x install, before you touch the MaxHost theme.
Buy a WordPress hosting plan and register a domain for your hosting company's own site, separate from the plans you resell. Most hosts install WordPress in one click from the account dashboard, so this rarely needs a manual install.
Point the domain's DNS at your hosting account and confirm WordPress loads there before continuing. Set up WHMCS 8.8.x through 9.0.x on the same domain or a subdomain, since MaxHost templates the WHMCS client area in Step 4. An older WHMCS install needs an upgrade first, since the version-matched template folders in Step 4 stop at 8.8.0.
Step 2: Install MaxHost and Your Page Builder
Done looks like the MaxHost theme active in WordPress, with WPBakery installed and running.
In your ThemeForest account, go to Downloads and select "Installable WordPress file only", not "All files and documentation". In WordPress Admin, go to Appearance > Themes > Add New > Upload Theme, choose the zip file, click Install Now, then Activate.
MaxHost then prompts you to install WPBakery Page Builder and, optionally, Elementor. Install WPBakery even if you plan to build in Elementor, because the demo you import in Step 3 needs WPBakery active to display correctly. Still deciding between builders? See our Elementor vs WPBakery guide.
Step 3: Import a Hosting Demo and Set Up Your Core Pages
Done looks like a live homepage in your chosen demo layout, plus Pricing, Features, and About pages populated with your own content.
In WordPress Admin, go to Tools > Import, choose WordPress, then install and activate the WordPress Importer plugin. Upload Maxhost_demo_data.xml, the file bundled in your theme download, and click Import.
MaxHost ships nine homepage demos:
- Main Demo
- Web Hosting
- Hosting Plus
- Server Hosting
- CyberPanel Hosting
- HotCloud Hosting
- Agency Hosting
- Hosting Solutions
- Hosting Services
Pick the demo closest to your plan lineup, shared, VPS, dedicated, or CyberPanel hosting, then import it. Starting from a matched demo takes far less editing than rebuilding sections from Main Demo. WPBakery must stay active for the imported layout to render correctly, since MaxHost's demo is built in WPBakery.
The import creates your core pages: a home page, plan or pricing pages, a features page, and an about or corporate page. Edit each in your page builder to replace demo copy with your own plans and company details. For the general mechanics of installing any theme, see our how to install a WordPress theme guide.
Step 4: Install and Activate Your WHMCS Template
Done looks like your WHMCS client area and cart rendering in the Maxhost-Alt-Style-2 skin.
Choose the template folder matching your WHMCS version, shown below.
| WHMCS version | Template folder |
|---|---|
| 9.0.0 and later | maxhostaltv90-tw |
| 8.13.x | maxhostaltv813-tw |
| 8.12.x | maxhostaltv812-tw |
| 8.8.0 through 8.11.x | matching version folder, same naming pattern |
Upload the folder to your WHMCS install's /templates directory via FTP or cPanel.
In WHMCS Admin, go to System Settings > General Settings > General tab, select Maxhost-Alt-Style-2 from the Template dropdown, then click Save Changes. Switch to the Ordering tab in the same settings and set the default order form to Standard Cart. MaxHost's template does not render correctly on other order form types.
MaxHost installs this template directly into WHMCS, with no bridge plugin syncing data between the two systems. For the full feature depth of that integration, see MaxHost's WHMCS WordPress theme page. For the three general ways any theme connects to WHMCS, see our how to integrate WHMCS with WordPress guide.
Step 5: Add Domain Search to Your Homepage
Done looks like a homepage search box that returns domain availability and hands off to your WHMCS cart.
Domain search in MaxHost is a builder element inside the imported demo, not a separate setup wizard. Open the homepage in WPBakery or Elementor and locate the domain search row, usually near the hero section.
Edit the element's settings to point at your WHMCS domain search and registration flow, so a visitor's search hands off to checkout. Style the field width and button copy to match your brand. See our how to add domain search to WordPress guide for a deeper walkthrough.
Step 6: Build Your Hosting Pricing Tables
Done looks like a pricing page showing your real plans, prices, and specs, with one tier marked as featured.
Pricing tables are builder elements from the imported demo, editable per plan. Duplicate the demo's pricing row for each tier you sell, shared, VPS, and dedicated, and replace the placeholder prices and specs with your own.
Set one plan as featured using the builder's highlight toggle. A highlighted tier is what most hosting pricing pages use to guide the comparison. See our how to add hosting pricing tables in WordPress guide for layout options.
Step 7: Connect WooCommerce for Add-On Sales (Optional)
Done looks like a WooCommerce store page, linked from your main navigation, selling items outside your WHMCS hosting plans.
Add WooCommerce when you plan to sell SSL certificates, licenses, or one-off services alongside your hosting plans. Hosting plans themselves route through WHMCS, not WooCommerce, so this step stays optional for a basic hosting-plan site.
MaxHost ships fully WooCommerce ready styling, so a store page matches the rest of your site without extra design work. One hosting reseller on WebHostingTalk recommended MaxHost specifically for this combination, noting it let him expand a site with WooCommerce without a separate theme. Install WooCommerce, add your add-on products, and place a store link in your main navigation.
Step 8: Finish Navigation, Branding, and Launch
Done looks like a live site where every demo page carries real content, and a test order completes through Standard Cart.
Build your mega menu in Appearance > Menus. Open Screen Options and enable Mega Menu Post and CSS Classes. Choose the Main Menu location, since only the main menu supports mega menus.
Add your Mega Menu post to the menu, then drag it under an existing item as a submenu. Add wide-menu to the parent item's CSS Class field for a full-width dropdown.
Set your logo, colors, and favicon in MaxHost's admin panel. Enable tawk.to live chat if you want pre-purchase support visible on every page.
Before you launch, confirm every core page carries your real content. Also confirm the domain search and pricing tables point at live data, and a WHMCS test order completes in Standard Cart mode. Then point your domain's DNS at the live site and remove any staging password.
MaxHost Features That Make Building a Hosting Site Easier
Beyond the eight-step build, MaxHost adds dual page builder flexibility, three bundled premium plugins, and reseller storefront compatibility. Each cuts setup work a from-scratch build would need.
Choose Elementor or WPBakery, Not Just One
MaxHost bundles both Elementor and WPBakery instead of locking you to one builder. WPBakery stays required for the imported demo, but every page you build after that can run in either editor.
Bundled Plugins Save Separate Purchases
Slider Revolution, Aweber newsletter signup, and tawk.to live chat ship inside the theme. You skip three separate plugin purchases and license keys, since each is already licensed as part of the theme.
GoDaddy Reseller Store Compatibility (Light Mention)
MaxHost lists compatibility with the GoDaddy Reseller Store plugin, version 2.2.6, for a domain-led storefront. No published case study demonstrates a live reseller build on this combination, so treat it as compatible, not proven at scale.
Tips for Building a Web Hosting Website in MaxHost
The single most impactful tip is building in one unified theme rather than stitching a separate WHMCS theme to a separate WooCommerce theme through subdomains.
- Pick your page builder before you import the demo. WPBakery must stay active either way, so decide whether you will build long term in WPBakery or Elementor before Step 2, not after.
- Match your demo to your plan lineup, not the flashiest layout. Starting from the demo closest to shared, VPS, or dedicated hosting takes far less editing than rebuilding sections from Main Demo.
- Confirm your WHMCS version before you touch branding. Uploading the wrong template folder is the most common setup mistake. Check your version first, then pick maxhostaltv90-tw or the matching older folder.
- Set Standard Cart before you test checkout, not after. Testing against the wrong order form hides real checkout problems until a customer hits them.
- Know when to look past MaxHost's bundled layouts. If none of the nine hosting demos fit your brand, compare more options in our best WordPress hosting themes roundup rather than force-fitting one.
FAQs
Do I need a WHMCS account before I start building in MaxHost?
Yes. MaxHost templates the WHMCS client area, so you need a working WHMCS 8.8.x through 9.0.x install before Step 4. Set it up in Step 1 if you have not already.
Is building a hosting-business website the same as hosting a website?
No. Building a hosting-business website means creating your own hosting company's site and WHMCS client area. Hosting a website means putting a site online with a provider, the topic the section above routes you to if that is what you meant.
Can I use Elementor instead of WPBakery to build my MaxHost site?
Yes, for your own pages. WPBakery must still stay active for the imported demo to display correctly, since the demo itself is built in WPBakery. Our Elementor vs WPBakery guide, linked in Step 2 above, covers the full comparison.
How much does it cost to build a hosting website with MaxHost?
A Regular License costs $49 one time and covers a site you are not reselling. An Extended License costs $2,950 and applies only if you resell or redistribute the finished site as a charged product. Neither license includes hosting, a domain, or WHMCS. Budget those three separately:
- Domain: about $10 to $15 a year
- Shared hosting: from around $2 a month
- WHMCS licensing: self-hosted plans start at $34.95 a month for up to 250 clients
Can I add domain search and pricing tables without coding?
Yes. Both are drag-and-drop builder elements inside the imported demo, editable in WPBakery or Elementor with no code required.
Does MaxHost sync WHMCS product data into WordPress automatically?
No. MaxHost templates and skins the WHMCS client area to match your site. It does not automatically sync product or pricing data from WHMCS into your WordPress pages. Update pricing tables and plan pages on the WordPress side yourself.
Can I migrate an existing hosting website into MaxHost?
Yes, in principle. Migrating a WordPress site follows the same general process regardless of the destination theme. See our how to migrate a WordPress site guide for the full process.
How long does it take to build a hosting website with MaxHost?
A working site can go live within an hour once WHMCS is already set up, per MaxHost's own launch claim. Treat that as a best case for a straightforward build, not a universal number. A build that includes custom pricing tiers, a full mega menu, and a WooCommerce store usually runs longer.