WordPress hosting sites add pricing tables four real ways: a plugin, the block editor, a page builder widget, or MaxHost's built-in module. MaxHost's version lives inside WPBakery at no extra plugin cost and links directly to your WHMCS order page.
This guide compares all four methods, then walks through MaxHost's own Pricing Table element step by step. You will also see design choices that make a table convert, plus MaxHost features that pair naturally with pricing pages.
How to Add a Pricing Table to WordPress: 4 Options
Four methods add a pricing table to WordPress. The table below compares setup effort, cost, and WHMCS price sync across all four.
| Method | Setup effort | Cost | WHMCS price sync | Best for |
|---|---|---|---|---|
| Dedicated plugin | Low, minutes per table | Free, or from $49 per site for premium tiers | Manual entry only | Any WordPress site that wants the fastest start |
| Block editor (manual) | Medium, no plugin install | Free | Manual entry only | Sites avoiding an extra plugin |
| Page builder widget (Elementor or WPBakery) | Medium, inside your existing builder | Elementor Pro subscription, or a paid WPBakery add-on | Manual entry only | Sites already building the page in that builder |
| MaxHost's built-in module | Low, ships with the theme | Included in the $49 Regular License | Manual Button URL, no extra plugin purchase | MaxHost WPBakery sites |
None of the four methods sync automatically with WHMCS. MaxHost's own module is the fastest of the four for a MaxHost WPBakery site, since it needs no separate plugin purchase.
Option 1: Install a Dedicated Pricing-Table Plugin
A pricing-table plugin adds the feature to any WordPress site in minutes, independent of your page builder.
Popular current options include Easy Pricing Tables, Responsive Pricing Table, and the Gutenberg-native Tableberg. Any of them follows the same four steps.
- Install and activate a plugin such as Easy Pricing Tables (free, with premium tiers from $49 per site) or SeedProd (free, with pricing-table blocks on Pro and Elite plans).
- Open the plugin's table builder, found under its own menu item in the WordPress dashboard.
- Enter each plan's name, price, duration, and feature list, then set the button label and checkout URL.
- Insert the finished table into your page as a shortcode or a block, depending on the plugin.
Option 2: Build One Manually with the Block Editor
WordPress's block editor builds a pricing table with no plugin, using Columns and a few standard blocks.
- Add a Columns block to the page, with one column per plan.
- Fill each column with a Heading block for the plan name, a Paragraph block for the price, a List block for the features, and a Buttons block for the order link.
- Style the columns to match, then give your recommended plan a different background color or border.
- Repeat the column pattern for every plan and publish the page.
Option 3: Use Your Page Builder's Pricing Widget
Elementor and WPBakery each support a pricing widget, though neither ships one free.
- In Elementor, drag the Price Table widget onto the page. This widget requires Elementor Pro.
- Fill in the Header, Pricing, Features, and Footer tabs, then turn on the Sale toggle to show a struck-through price next to a discounted one.
- In WPBakery outside MaxHost, install a paid add-on such as Advanced Pricing Table Pro or ARPrice, since WPBakery's core element set has no native pricing table.
- Configure the plan name, price, features, and button URL inside the add-on's settings, then repeat per plan.
MaxHost skips this step for WPBakery users. Its own Pricing Table module ships inside the theme, ready to use without installing anything else.
Before You Begin: What You Need in MaxHost
Every method in this tutorial works on either MaxHost license. You need WPBakery active, a plan you want to sell, and a WHMCS order page ready to link your Button URL to before you start.
- Plan required: Both the $49 Regular License and the $2,950 Extended License include the Pricing Table module, verified on MaxHost's ThemeForest listing. The license choice governs where you use the finished site, a single non-charged hosting business versus a charged product you resell to clients, not which features you can access. See MaxHost's licensing for the full breakdown.
- Features you will use: WPBakery Page Builder for layout, MaxHost's Pricing Table element for each plan, and a live WHMCS order page for the Button URL to point to, the same no-bridge approach that powers WHMCS integration without a bridge plugin.
- Where to start: Open Pages > Add New in WordPress Admin, or edit an existing hosting page where the table should appear.
- No dedicated template: MaxHost has no standalone pricing-table template to import. The module ships inside full hosting homepage demos instead. If you have not built the rest of your site yet, the full MaxHost site-build walkthrough covers this step as part of a larger build.
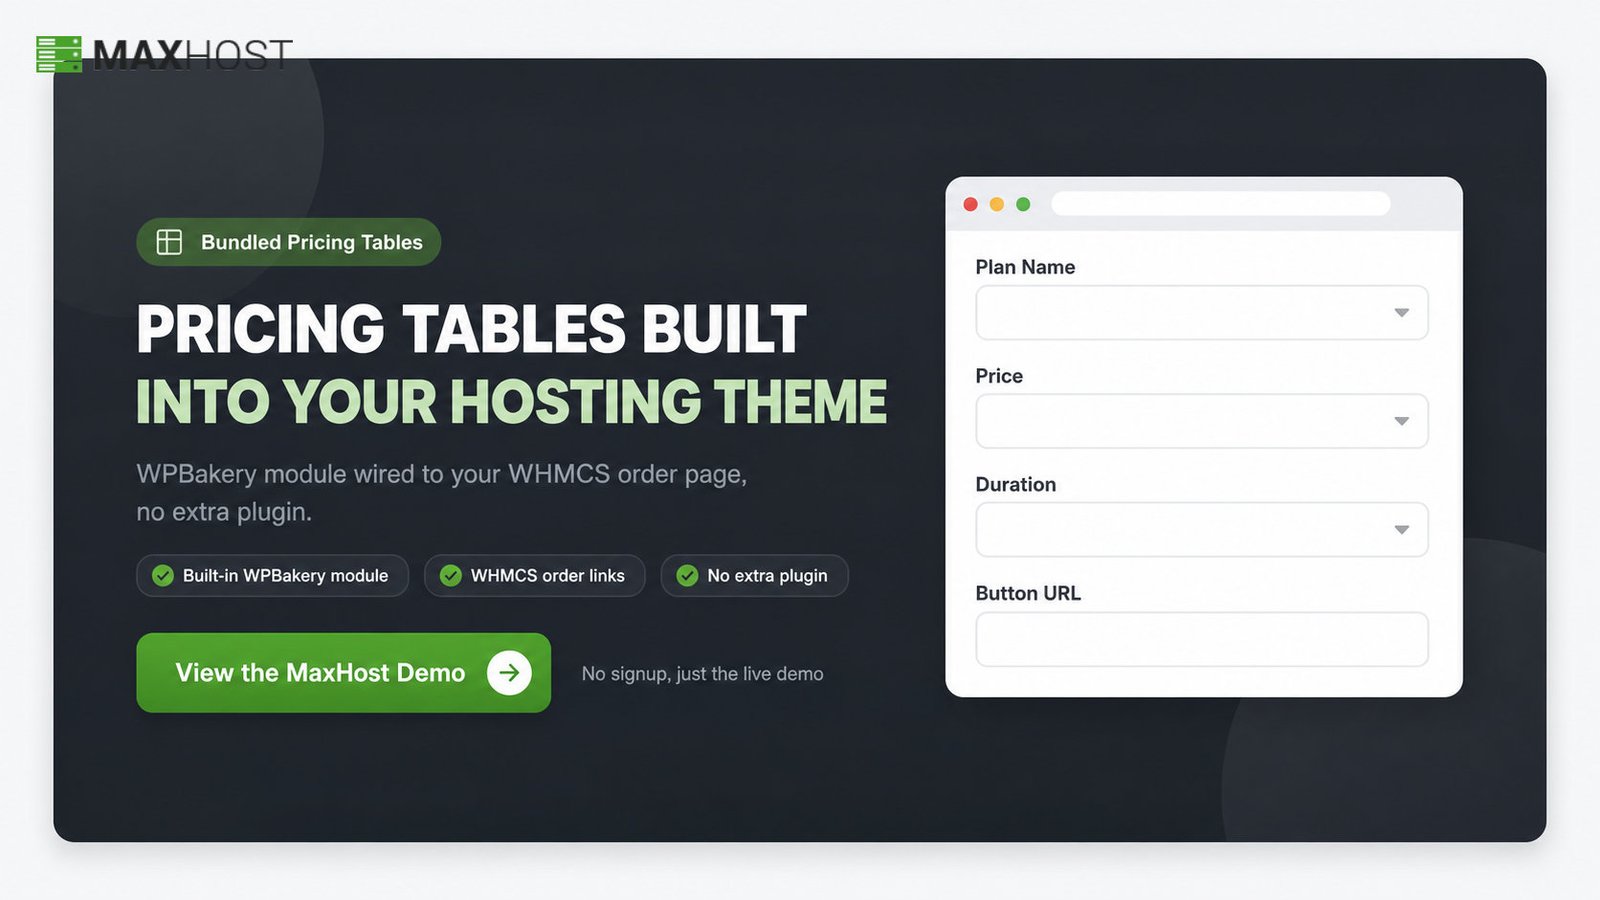
Not settled on MaxHost yet? See MaxHost's pricing tables live in the demo, alongside every other hosting feature, before you build.
How to Build a Hosting Pricing Table in MaxHost: Step-by-Step
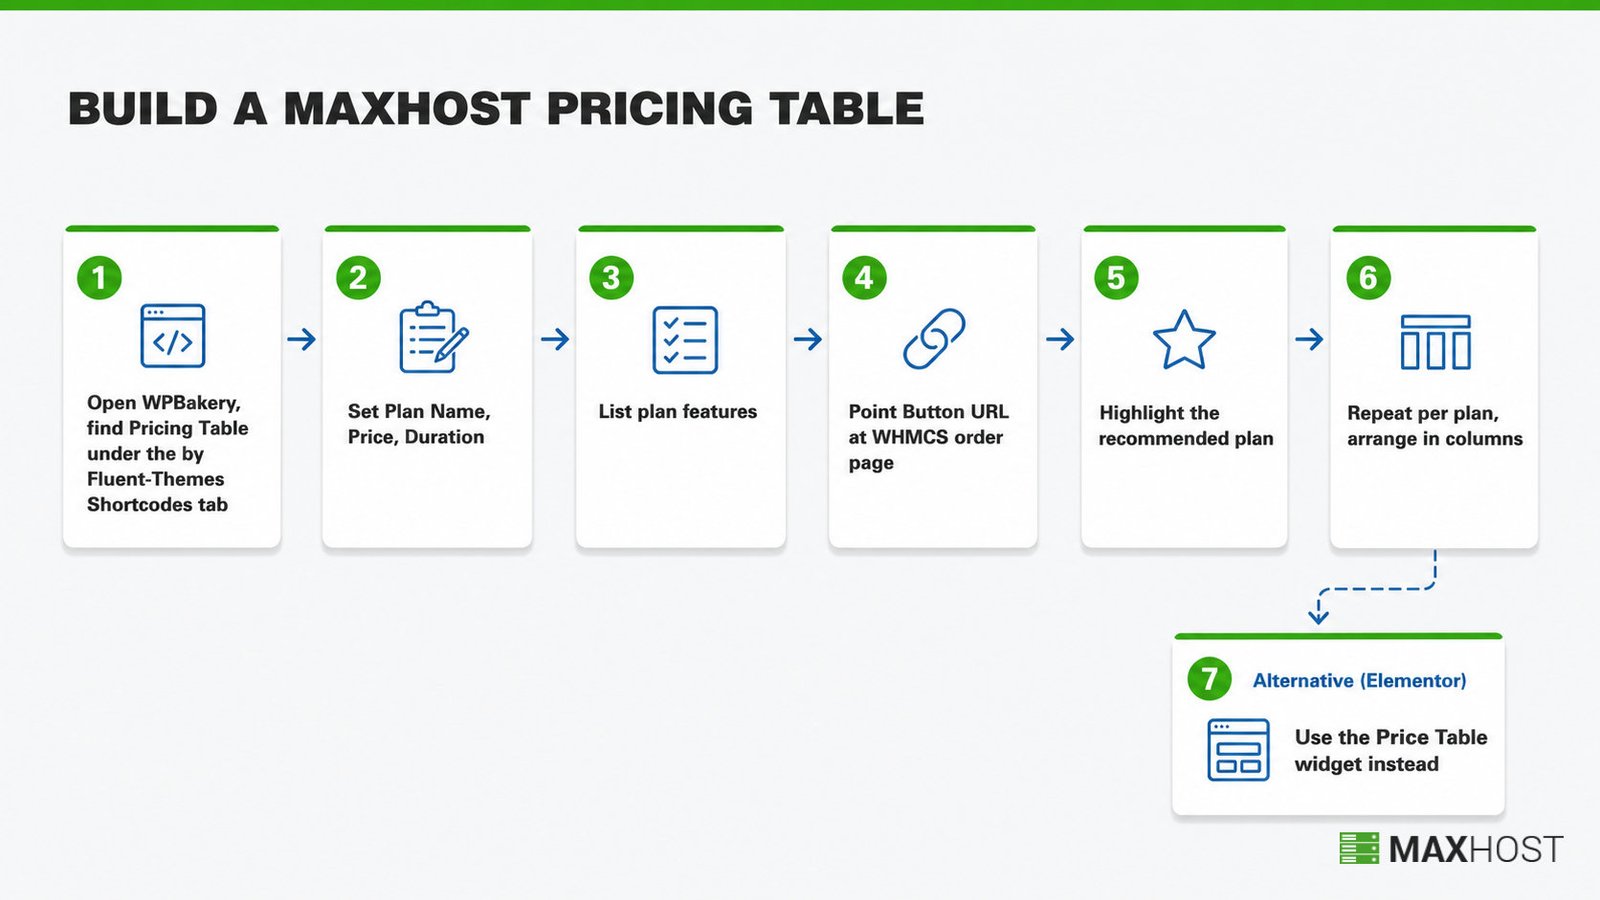
Building one MaxHost pricing table takes six steps inside WPBakery, plus a seventh step if you use Elementor instead.
Step 1: Open WPBakery and Find the Pricing Table Element
MaxHost's Pricing Table lives under its own tab, not WPBakery's default element panel, so the first step is finding it.
Go to Pages > Add New, then open WPBakery Page Builder > Frontend Editor. Click Add Element, then open the by Fluent-Themes Shortcodes tab and select Pricing Table.
I found the Pricing Table element listed under that brand-specific tab, not in WPBakery's default Content tab. That happened the first time I opened the Add Element panel.
Done looks like a blank Pricing Table element added to the page, ready for its settings panel.
���� Tip: MaxHost builds this as its own element specifically so you do not need to buy a separate pricing-table plugin.
For the complete field reference, see MaxHost's Pricing Table documentation.
Step 2: Set the Plan Name, Price, and Duration
These three fields make the table readable at a glance: what the plan is called, what it costs, and how long that price covers.
In the settings panel, fill in Pricing Plan Name, Price (with the currency symbol, for example $99), and Duration (for example month or year).
Every field here is typed in by hand. MaxHost does not pull these values from WHMCS automatically.
Done looks like a plan name, a price, and a duration showing on the table's header.
Step 3: List the Plan's Features
Feature rows are what a buyer scans to compare plans against each other.
Add one feature per line in the Features field. Keep each line short and use the same phrasing pattern across every plan, so a buyer can compare them at a glance.
Done looks like a bulleted feature list under the price, matching the format of your other plans.
Step 4: Point the Button URL at Your WHMCS Order Page
This step turns a static table into an order flow that lands the buyer inside checkout.
Fill in Button Label (for example Order Now), then set Button URL to the exact WHMCS order page for that plan.
That link is static. It does not update on its own if the plan's WHMCS order URL or price changes later, unlike a WHMCS-sync plugin. Re-check it after any pricing change in WHMCS.
Done looks like a button that lands a visitor on the correct WHMCS order page for that exact plan.
If WHMCS is not wired up yet, set up your WHMCS order page before finishing this step.
Step 5: Highlight Your Recommended Plan
One checkbox visually promotes the plan you most want buyers to choose.
Check Want to make this table highlighted? in the settings panel to apply MaxHost's highlighted styling to that plan.
���� Tip: A subtle highlight, a tinted background or a thin border, outperforms a loud one. Keep the copy on a highlighted plan calm and let the visual state do the work.
Done looks like one plan visually standing out from the others once you preview the page.
Step 6: Repeat for Each Plan and Arrange Them in Columns
One Pricing Table element covers one plan, so a full table needs one element per plan, side by side.
Add a Row, split it into two to four columns to match your plan count, then place one completed Pricing Table element in each column.
Done looks like your shared, VPS, and dedicated plans, or however many you sell, sitting in a single row.
Step 7: Building the Same Table in Elementor Instead
MaxHost's Pricing Table module only works inside WPBakery, so an Elementor builder needs a different widget entirely.
Drag Elementor's native Price Table widget onto the page. This is an Elementor Pro widget with Header, Pricing, Features, Footer, and Ribbon tabs covering the same fields as MaxHost's WPBakery version. Point its button at the same WHMCS order URL from Step 4.
See Elementor's Price Table documentation for the full widget reference, or compare which builder fits your MaxHost site if you have not picked one yet.
Done looks like the same plan name, price, features, and button, built in Elementor instead of WPBakery.
Building the rest of your site too? Follow the full MaxHost site-build walkthrough from install to launch.
Design Choices That Make a Hosting Pricing Table Convert
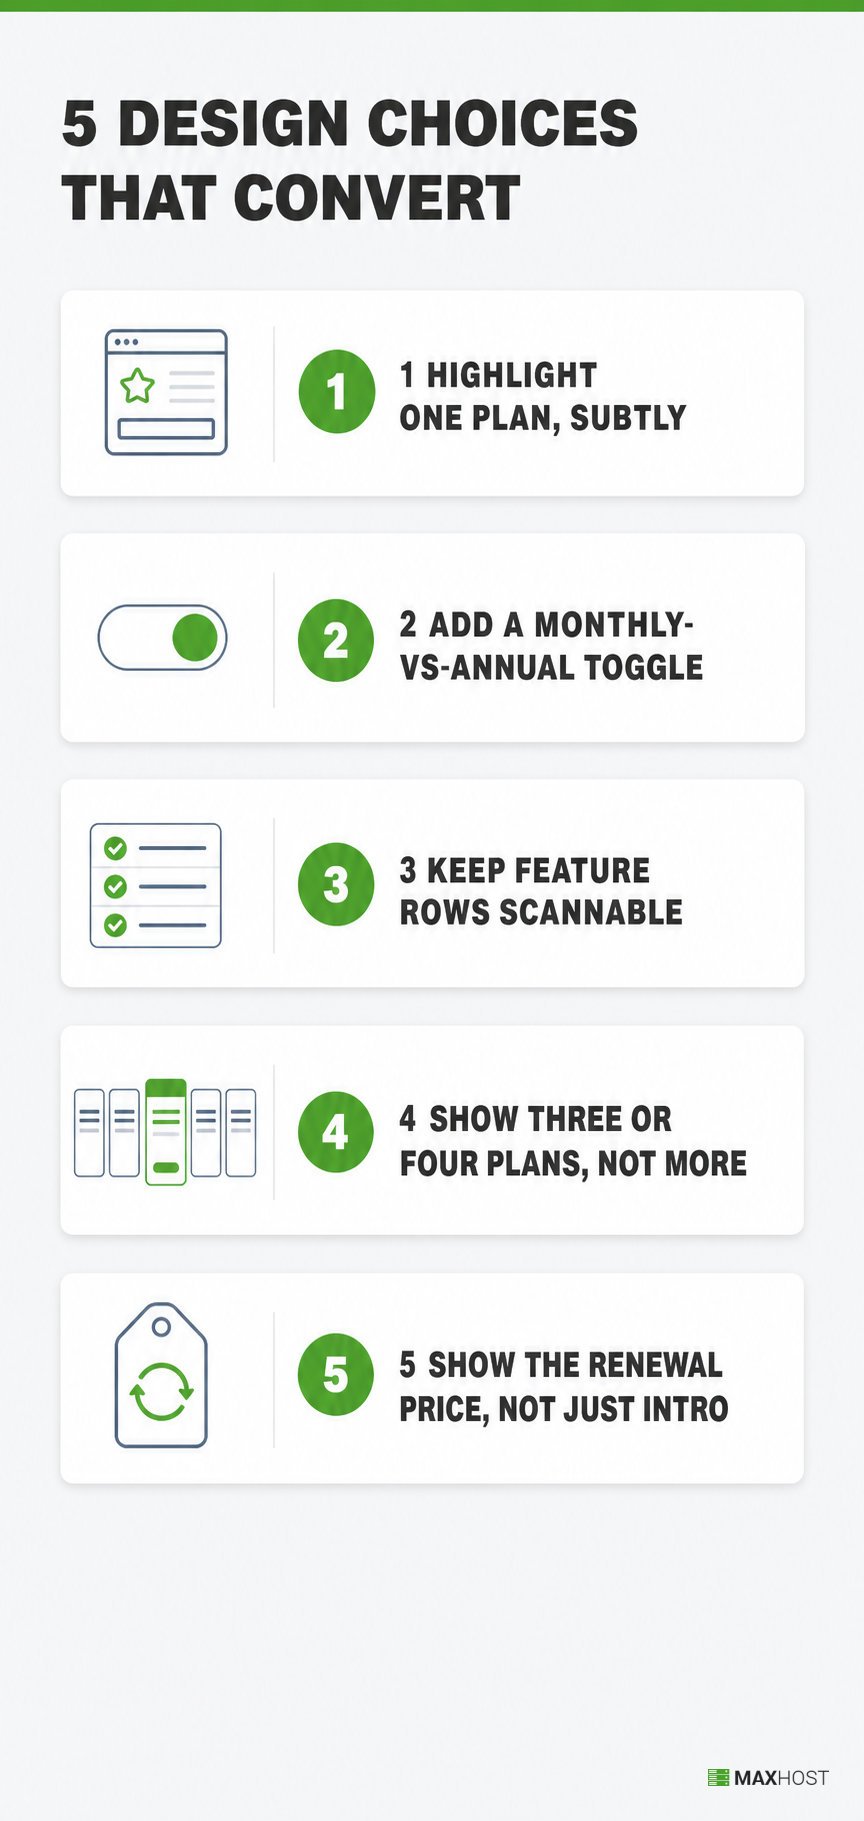
A pricing table that displays correctly is not the same as one that converts. Five design choices separate the two.
Highlight One Plan, Subtly
A quiet visual cue outperforms a loud badge for guiding plan choice.
A soft tint, a thin border, or a small label reads as a recommendation. A bright color block or an oversized badge reads as pressure, and readers discount it. If the highlight is the first thing you notice on the page, it is too loud.
Add a Monthly-vs-Annual Toggle (MaxHost's Manual Workaround)
MaxHost's Pricing Table element has no native monthly and annual switch, so a toggle takes a manual workaround.
Build two sets of Pricing Table columns, one priced monthly and one priced annually, then swap their visibility with a WPBakery tabs element. A simpler option shows both durations as two lines inside one table's Duration field, though that reads as more cluttered than a true toggle. Either way, note the savings next to the annual option, since a visible discount is what makes the toggle worth adding.
Keep Feature Rows Scannable
Short, parallel feature lines let a buyer compare plans without reading full sentences.
Write each feature the same length and tense across every plan, for example, all fragments starting with a number or a noun. Put the features buyers decide on, like storage, domains, or support level, above less decisive ones. Make the price the largest element in each column, so the number a buyer weighs is the first thing they see.
Show Three or Four Plans, Not More
Too many plans stall the buyer with choice overload, and too few give no real comparison.
Three or four plans is the proven sweet spot, and it maps cleanly onto shared, VPS, dedicated, and cloud hosting tiers. If you sell more than four, group the extras onto a separate comparison page rather than one crowded table.
Show the Renewal Price, Not Just the Intro Price
Hosting pricing tables carry a trap generic pricing-table advice does not cover: leading only with a first-term price and hiding what the plan renews at.
Shared hosting commonly advertises a low first-term rate that renews at several times that price. If your own plans work the same way, disclose the renewal price in the table's Duration or Features field. A buyer who discovers the renewal price at checkout, instead of on the table, is a buyer who feels misled at the worst possible moment.
MaxHost Features That Make Pricing Tables Easier
Two MaxHost features pair naturally with a pricing table: domain search and WooCommerce.
Domain Search Next to Your Pricing Table
MaxHost's AJAX domain search module lets a buyer check a domain and see a plan price in the same glance.
Place the domain search block in a column or section beside your pricing table so a visitor checks availability without leaving the page.
WooCommerce for Add-Ons Beyond the Plan
WooCommerce sells the extras a WHMCS plan itself does not cover.
Use WooCommerce alongside your pricing table for one-off services such as SSL certificates, site migrations, or setup fees that sit outside your recurring hosting plans.
Pair your pricing table with MaxHost's domain search module for a one-page plan-and-domain flow.
Tips for Hosting Pricing Tables That Convert in MaxHost
The single most impactful tip is re-checking every Button URL after any WHMCS price change, since MaxHost's module never updates itself.
- Re-check Button URLs after every WHMCS price change. MaxHost's Pricing Table does not sync with WHMCS automatically, so a price change in WHMCS needs a matching manual edit in the Button URL and Price fields.
- Match plan names exactly between your table and WHMCS. A table that says "Business" while linking to a WHMCS product named "Business Pro" confuses buyers right at checkout.
- Price your plans strategically before you build the table. A pricing table only presents numbers you already decided on. See how to price your hosting plans strategically before locking in your Plan Name and Price fields.
- Use the Extended License for a reselling client's site. The Regular License covers your own hosting business only. A site you build and resell to a hosting client needs the Extended License.
- Point Button URLs at your reseller storefront if you sell through GoDaddy Reseller Store instead of WHMCS. MaxHost bundles GoDaddy Reseller Store compatibility, so the same Button URL field can point there instead of a WHMCS order page.
FAQs
Does MaxHost's Pricing Table pull prices automatically from WHMCS?
No. Every field, including price, is entered manually, and the Button URL is a static link to your WHMCS order page. WHMpress, a separate WHMCS-WordPress plugin, does auto-sync plan names, prices, and order links from WHMCS, unlike MaxHost's built-in module.
Can I use MaxHost's Pricing Table with Elementor instead of WPBakery?
Not the built-in element. It only works inside WPBakery. Use Elementor's native Price Table widget instead, covered in Step 7 above, and point its button at the same WHMCS order URL.
Can I add a pricing table in WordPress without a plugin?
Yes. WordPress's block editor builds one from Columns, Heading, List, and Buttons blocks with no plugin, as shown in Option 2 above. MaxHost's own Pricing Table element also needs no separate plugin, since it ships inside the theme.
Is the Pricing Table module included in the $49 Regular License, or do I need the Extended License?
It is included in both. The license choice governs where you use the finished site, not which features you can access. The Extended License applies only if you resell or redistribute the site as a charged product.
How do I highlight one plan as recommended in MaxHost?
Check the Want to make this table highlighted? box in the Pricing Table settings panel, covered in Step 5. Keep the visual treatment subtle rather than loud.
Can I add a monthly/annual toggle to a MaxHost pricing table?
Not natively. Build two sets of tables, one monthly and one annual, and switch their visibility with a WPBakery tabs element, as described in Design Choices above.
How many pricing tables can I add to one page?
As many as your row and column layout allows. A typical hosting page uses two to four, covering shared, VPS, dedicated, and sometimes cloud plans.
Why doesn't my Button URL go straight to checkout?
The Button URL is a static link you set once. It may point at a general WHMCS product page instead of a direct order URL. Or the plan's order URL may have changed since you set it. Either way, the button needs a manual update.
Can I show domain pricing next to my hosting pricing table?
Yes. Pair MaxHost's domain search module in an adjacent column or section, covered under MaxHost Features above.
Does the Pricing Table widget work if I haven't installed WHMCS yet?
Yes. The table itself displays fine with no WHMCS connection. Only the Button URL's destination needs a live WHMCS order page, so set up WHMCS first if you want working buttons at launch.
MaxHost ships four real ways to add a hosting pricing table to WordPress. Only one comes bundled with a theme built for hosting companies specifically. If you have not chosen a hosting theme yet, compare options in the best WordPress hosting themes roundup. Otherwise, explore MaxHost to see every pricing table style live before you build.