Building a booking website means giving customers a way to pick a service, reserve a date and time, and pay online. No phone call or email should be required. Two honest routes get you there: a hosted site builder you rent, or a WordPress and WooCommerce site you own.
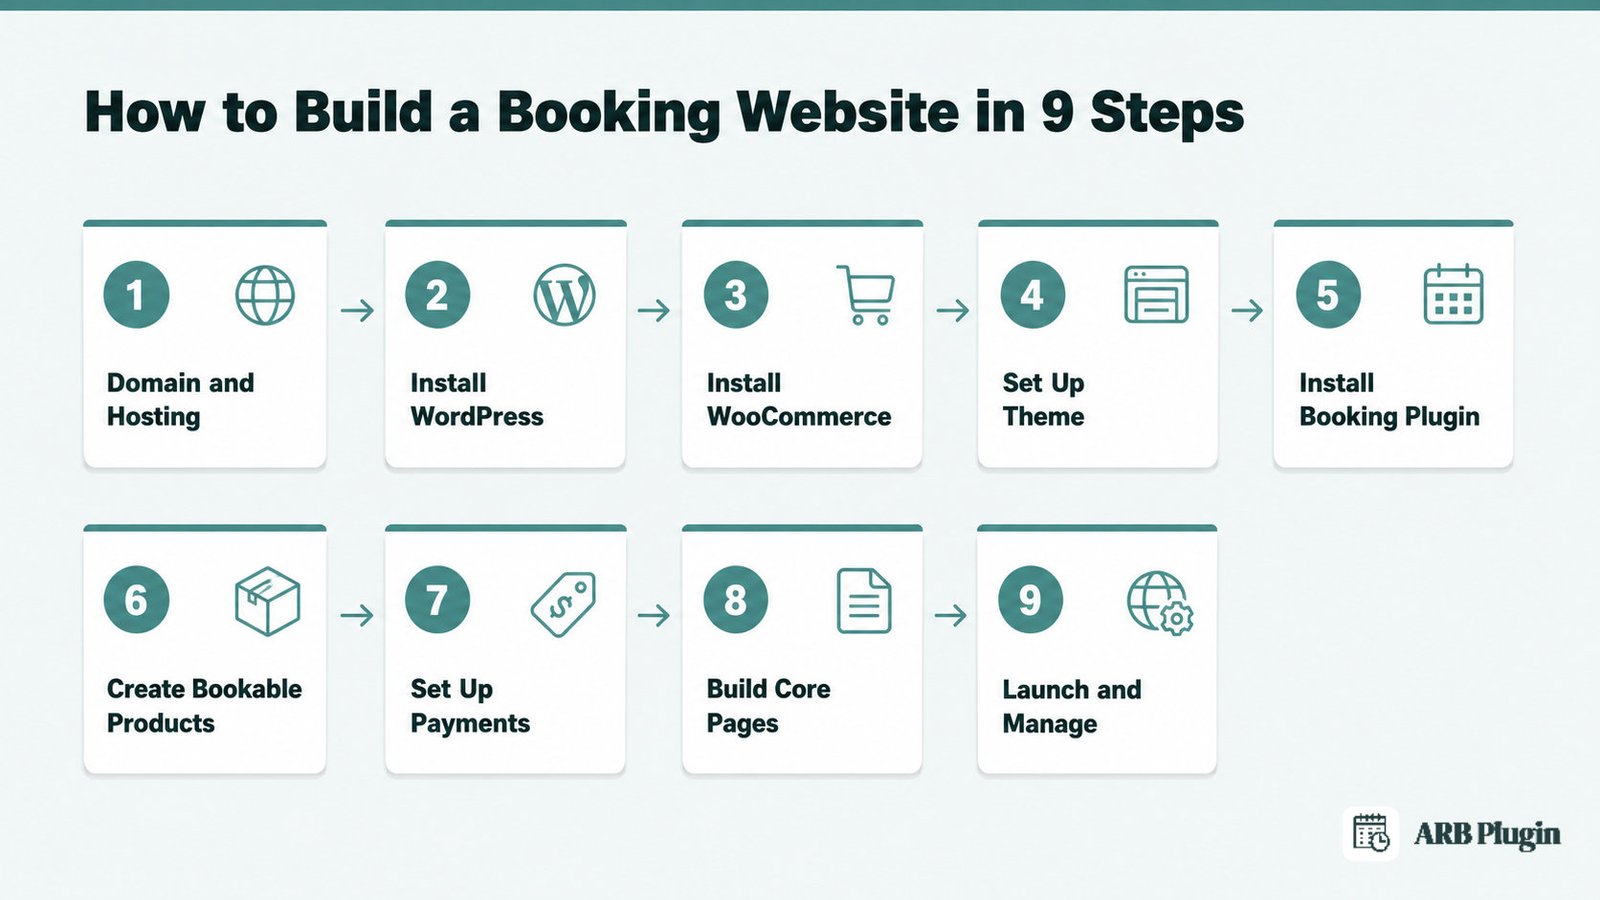
This guide walks the WordPress route from a blank domain to a live, bookable site. Nine steps cover domain and hosting, WordPress, WooCommerce, a theme, a booking plugin, payments, your core pages, and launch.
What Is a Booking Website?
A booking website lets customers choose a service, pick an available date and time slot, reserve it, and pay online. It replaces phone calls and email back-and-forth with a self-service form that confirms the reservation instantly.
To do its job, the site needs three things working together. Live availability, a way to stop double bookings, and a checkout that actually collects payment. Miss any one of the three and the site looks live but fails the first real customer.
The output is concrete. A stranger reaches the site, books a real slot on your calendar, and pays, with no email exchange required. Everything in this guide builds toward that one outcome.
What You Need Before You Start
Most guides skip straight to installing software. The step people actually skip is deciding upfront how complex your bookings are, and that single decision picks your entire toolset.
Gather these before you start.
- A domain name for your business.
- A WordPress hosting account.
- The WordPress software (most hosts install it in one click).
- A WooCommerce-compatible theme.
- The WooCommerce plugin.
- A booking plugin that matches your complexity.
- A payment gateway account, such as Stripe or PayPal.
- A rough budget and two to three days of setup time.
Simple bookings need only a date picker: one service, one price, one calendar. Complex bookings need per-person pricing, multiple resources, capacity limits, or a quote-first flow. Decide which one describes your business before Step 5, because it determines which booking plugin you need.
How Much Does a Booking Website Cost? (Is There a Free Option?)
A basic booking website on WordPress costs about $15 to $40 a month for hosting and a domain. Add a one-time booking-plugin fee once your needs exceed a simple date picker. WordPress and WooCommerce themselves cost nothing.
| Item | Free option? | Typical cost |
|---|---|---|
| Domain name | No | $10 to $15 per year |
| WordPress hosting | Rarely | $3 to $25 per month |
| WordPress software | Yes | Free |
| WooCommerce plugin | Yes | Free |
| WooCommerce-compatible theme | Yes, for basic designs | Free to $99 one-time |
| Booking plugin for complex rules | No, on most capable plugins | Roughly $50 to $250, one-time or per year |
| Payment gateway account | Yes to open one | A per-transaction processing fee |
Is there a free booking website? Yes, hosted, all-in-one site builders offer free tiers that build a basic booking page in minutes, no WordPress required. Every one of them caps something. Common limits are the number of monthly bookings, service types, or whether payment collection is included at all on the free tier.
That trade-off works for a single service with simple availability. It breaks down the moment you need per-person pricing, multiple resources, or a quote-first workflow.
ARB, the WooCommerce booking plugin this guide uses from Step 5 onward, has no free tier. It sells as a one-time license for approximately $55 on CodeCanyon, not a subscription, so the cost stops at the one payment. That is the honest tradeoff against a free hosted tier: you configure more upfront, and you own the plugin outright afterward.
Step 1: Choose Your Domain Name and Hosting
Your domain name becomes the root of every booking link and confirmation email you send. Pick something short, easy to say over the phone, and free of hyphens or numbers where possible.
- Search your business name (or a close variant) at a domain registrar and register the
.comif it is available. - Choose a WordPress hosting plan. Many hosts bundle a free domain and a one-click WordPress installer with a first-year plan.
- Point your domain's nameservers to your host if you registered the domain separately.
Your domain also answers a related question: how do you create a booking URL? The domain is the root of every link a customer clicks, whether that's your homepage or one service's direct page.
Done: your domain resolves to your hosting account, and you can log in to your host's control panel.
Step 2: Install WordPress
Most hosting accounts install WordPress with one click, so this step rarely needs manual server work.
- In your host's control panel, find the one-click WordPress (or "app") installer and launch it.
- Point the installer at your domain and set an admin username and a strong password.
- Log in at
yourdomain.com/wp-adminonce the install finishes. - Under Settings > Permalinks, choose "Post name" so your URLs read cleanly.
If your host has no one-click installer, download WordPress from WordPress.org and follow its five-minute install guide instead.
Done: you can log in to /wp-admin, and your permalink structure is set to "Post name."
Step 3: Install WooCommerce
WooCommerce turns WordPress into a store. The booking plugin in Step 5 runs as a WooCommerce extension, so it needs an active WooCommerce store first.
- In your WordPress dashboard, go to Plugins > Add New and search for WooCommerce.
- Click Install Now, then Activate.
- Run the setup wizard: confirm your store address, currency, and at least one payment method.
Why Does WooCommerce Come Before the Booking Plugin?
A capable booking plugin runs bookings through WooCommerce's own cart, checkout, and order system, instead of a separate one. Activating WooCommerce now means Step 5's plugin has a store to plug into immediately.
Done: WooCommerce is active, and the setup wizard shows your store address, currency, and a connected payment method.
Step 4: Choose and Set Up Your Theme
A booking site does not need a booking-specific theme. Any lightweight, WooCommerce-compatible theme works, because the booking form itself comes from your booking plugin, not your theme.
- Choose a theme built for WooCommerce (most modern WordPress themes qualify).
- Install it under Appearance > Themes > Add New, then Activate.
- Set your logo, brand colors, and main navigation menu.
- Confirm your product-page template displays cleanly on mobile, since most bookings happen on a phone.
Why Doesn't Theme Choice Matter for Booking?
A capable booking plugin renders its form through a shortcode, a page-builder widget, or its own product template. The same booking form displays correctly no matter which WooCommerce-compatible theme you pick. Theme lock-in is not a real risk here. Pick a theme for its design, since the plugin already supplies the booking features.
See real booking website examples across different business types before you commit to a design direction.
Done: your theme is active, your branding is set, and your homepage displays cleanly on a phone screen.
Step 5: Install and Activate Your Booking Plugin
This is the decision point that matters most. A basic date-picker plugin handles one service and one price. A plugin built for complex rules handles per-person pricing, multiple resources, and capacity limits instead. Match your pick to the complexity you identified in What You Need Before You Start.
This guide demonstrates the ARB WooCommerce booking plugin, built for the complex-rules side of that decision.
- Download the plugin ZIP file from your CodeCanyon purchase.
- In your WordPress dashboard, go to Plugins > Add New > Upload Plugin.
- Choose the ZIP file, click Install Now, then Activate.
- Open ARB Settings, paste the 9-digit Activation Token Number from your Envato purchase code, and click Save.
Once activated, ARB updates itself automatically through the Envato Market plugin, which connects to your Envato account with OAuth.
Still weighing options? Compare best WooCommerce booking plugins compared before committing to one. See add online booking to WordPress step by step for the full configuration walkthrough beyond this guide's scope.
Done: your booking plugin shows as active in your Plugins list, and its license or activation key is accepted.
Step 6: Create Your Bookable Products
Every booking on your site starts as a WooCommerce product with a booking type applied to it. This step turns a normal product into one customers can actually reserve.
- Go to Products > Add New and give your service a title and description.
- Open the Product Data dropdown and choose Reservable Product.
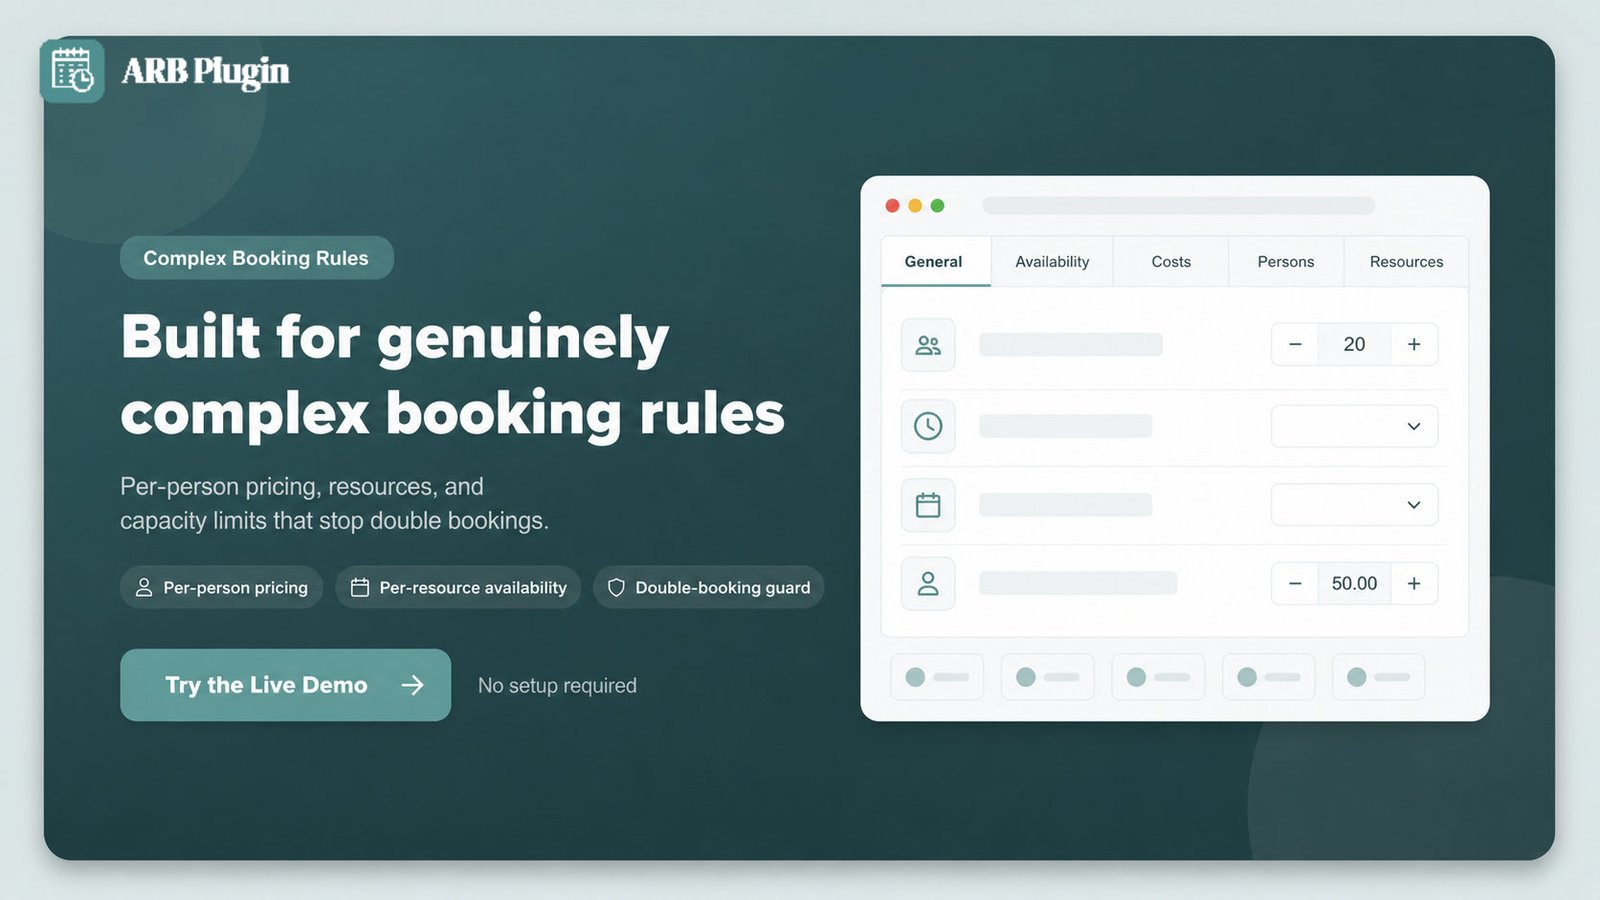
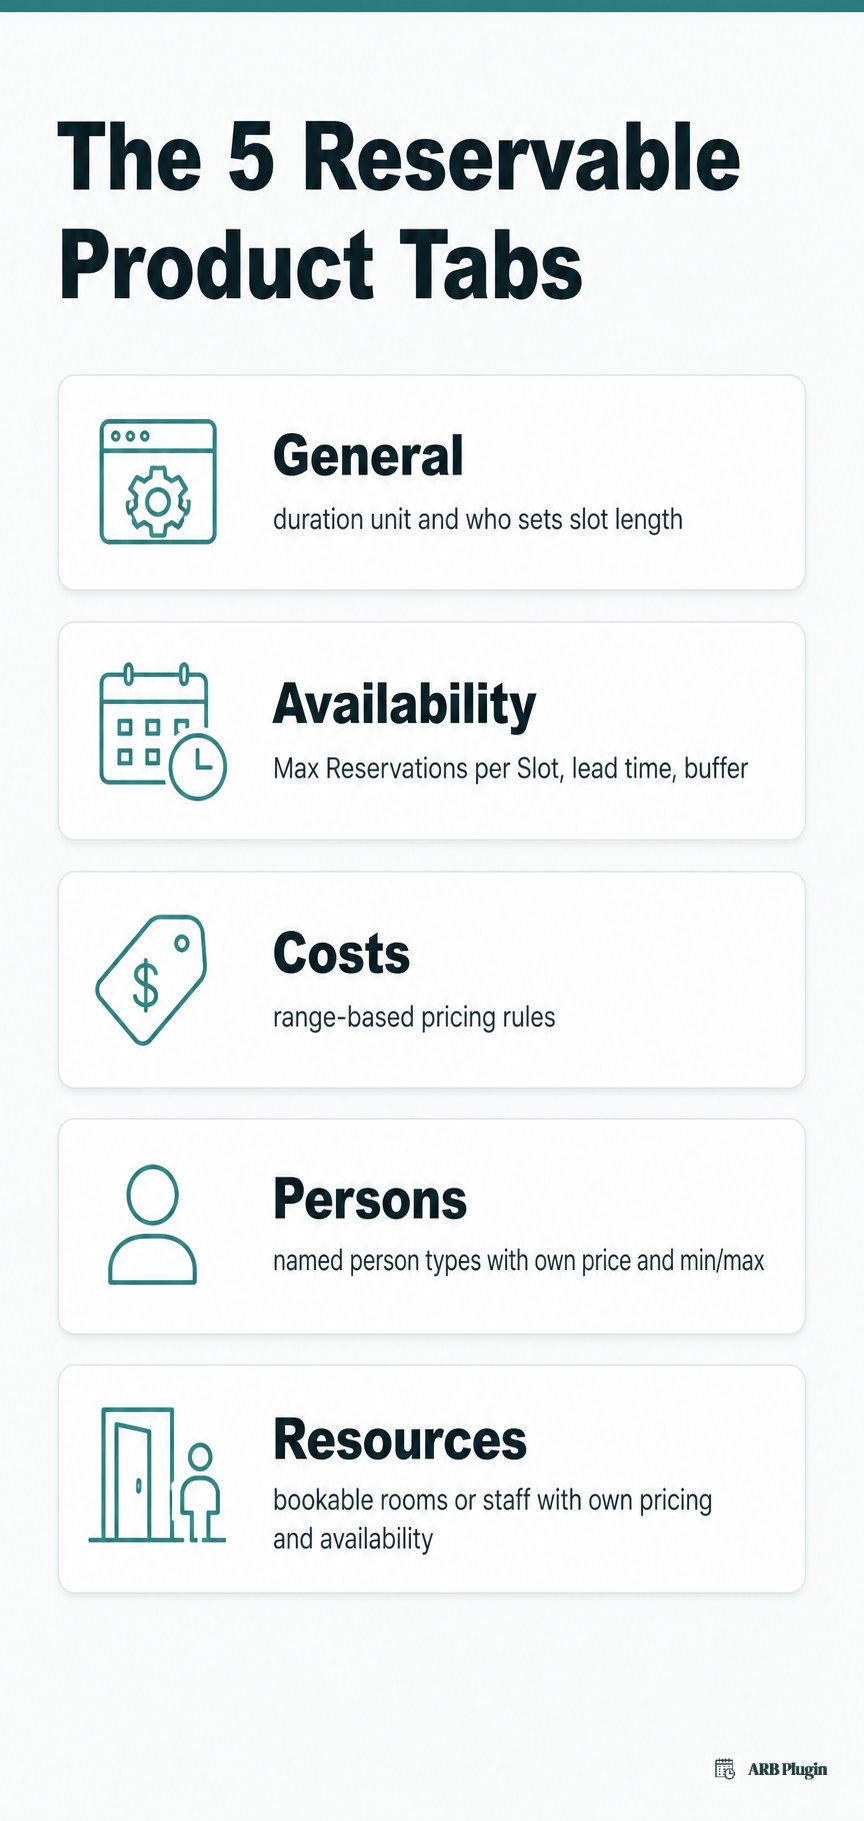
- Configure the five tabs that appear: General, Availability, Costs, Persons, and Resources.
The five tabs cover different jobs.
- General sets the duration unit, from minutes to months, and whether the customer or the admin defines the slot length.
- Availability sets Max Reservations per Slot, the direct guard against double-booking, plus lead time, booking horizon, and buffer periods.
- Costs adds range-based pricing rules by slot count, person count, date, time, or day of week, recalculated live.
- Persons adds named person types, such as adult or child, each with its own price and minimum and maximum count.
- Resources adds bookable things, such as a room or a staff member, each with independent pricing and availability.
This guide keeps the five-tab setup high level. See create a reservable product for the full field-by-field walkthrough, and set up booking availability and time slots for the Availability tab specifically. Running a hotel, salon, or rental business changes the resources and pricing, not the steps. See build a hotel booking website, build a salon booking website, or create a rental website for vertical-specific setup.
Done: your product's type is set to Reservable Product, and Max Reservations per Slot is set above zero. A test booking shows the correct live price.
Step 7: Set Up Payments
Bookings check out through WooCommerce, so payments are not a separate system to configure. Whatever gateway you already use for regular WooCommerce orders works for bookings too.
- Go to WooCommerce > Settings > Payments.
- Enable at least one gateway and complete its connection details (API keys or a linked account, depending on the provider).
- Place a real test booking and confirm the charge appears in that gateway's dashboard.
ARB inherits every WooCommerce-supported gateway automatically, including Stripe, PayPal, Square, Amazon Pay, PayFast, and eWay, plus Cheque Payments, Bank Transfer, and Cash on Delivery. Taxes and coupons apply the same way they do on any other WooCommerce order.
What Happens When Confirmation Is Required Before Payment?
Turning on confirmation required changes checkout. No payment method shows until you approve the booking. The customer pays afterward, from their My Account page, once approval happens. Request for Quote mode works differently again: you set a custom price yourself before the customer ever sees a charge.
For gateway-specific setup, see accept payments for appointments and bookings. WooCommerce's own payment gateway documentation covers provider-specific connection steps.
Done: a gateway is connected, and a real test booking completes a real (or sandboxed) charge.
Step 8: Build Your Core Pages (Home, Services, Booking, Contact)
A booking site needs four core pages, and each one does a different job in moving a visitor toward a confirmed reservation.
- Home states what you offer and puts the primary booking link above the fold.
- Services lists what is bookable, with pricing, so visitors qualify themselves before clicking through.
- Booking hosts the reservation form itself, the page every other page points toward.
- Contact covers hours, location, and support, for the questions a form cannot answer.
Your Reservable Product already has its own page the moment you publish it. To place that same form somewhere else, such as a dedicated Booking page, embed it with [product_page id="ID"], using your product's own ID. The same shortcode works inside the Elementor Shortcode widget, and WPBakery Page Builder places it natively with no extra widget needed. You can publish unlimited booking forms this way, one per service or resource type.
This step also answers a related question: how do you create a booking URL? Your Booking page's own address, or a single Reservable Product's direct link, is the shareable booking URL you send to customers.
Done: all four pages are published, and the Booking page's link works and completes a test reservation.
Step 9: Launch and Manage Your Bookings
A booking site is not done until a real customer has completed a real booking end to end, from browsing to a paid confirmation. Test that full path yourself before you announce the site.
Run through this checklist before launch.
- Complete one full test booking, including a real or sandboxed payment.
- Check the booking form and confirmation email on a phone screen.
- Confirm your availability rules, lead time, and buffer periods match your real schedule.
- Verify a confirmation or reminder email actually arrives.
Once you are live, reservations run through your admin panel, not a separate booking dashboard.
- All Reservations lists every booking, filterable by product or date, with search across orders.
- Individual orders open to full detail, where you add a private note, change status, or email an invoice.
- Daily Agenda gives a single-day view of everything booked, added in ARB 8.0.0 for a faster daily check.
- Reminders send manually or in bulk to every customer with an upcoming reservation, personalized with the
{customer_name}tag. - iCalendar export attaches an
.icsfile to reminder emails, so a customer can add the appointment to their own calendar app in one tap.
See send appointment reminders automatically for the full reminder-scheduling setup.
Done: a real test booking is confirmed in your admin panel, and a reminder or confirmation email has actually arrived in an inbox.
Common Mistakes to Avoid When Building a Booking Website
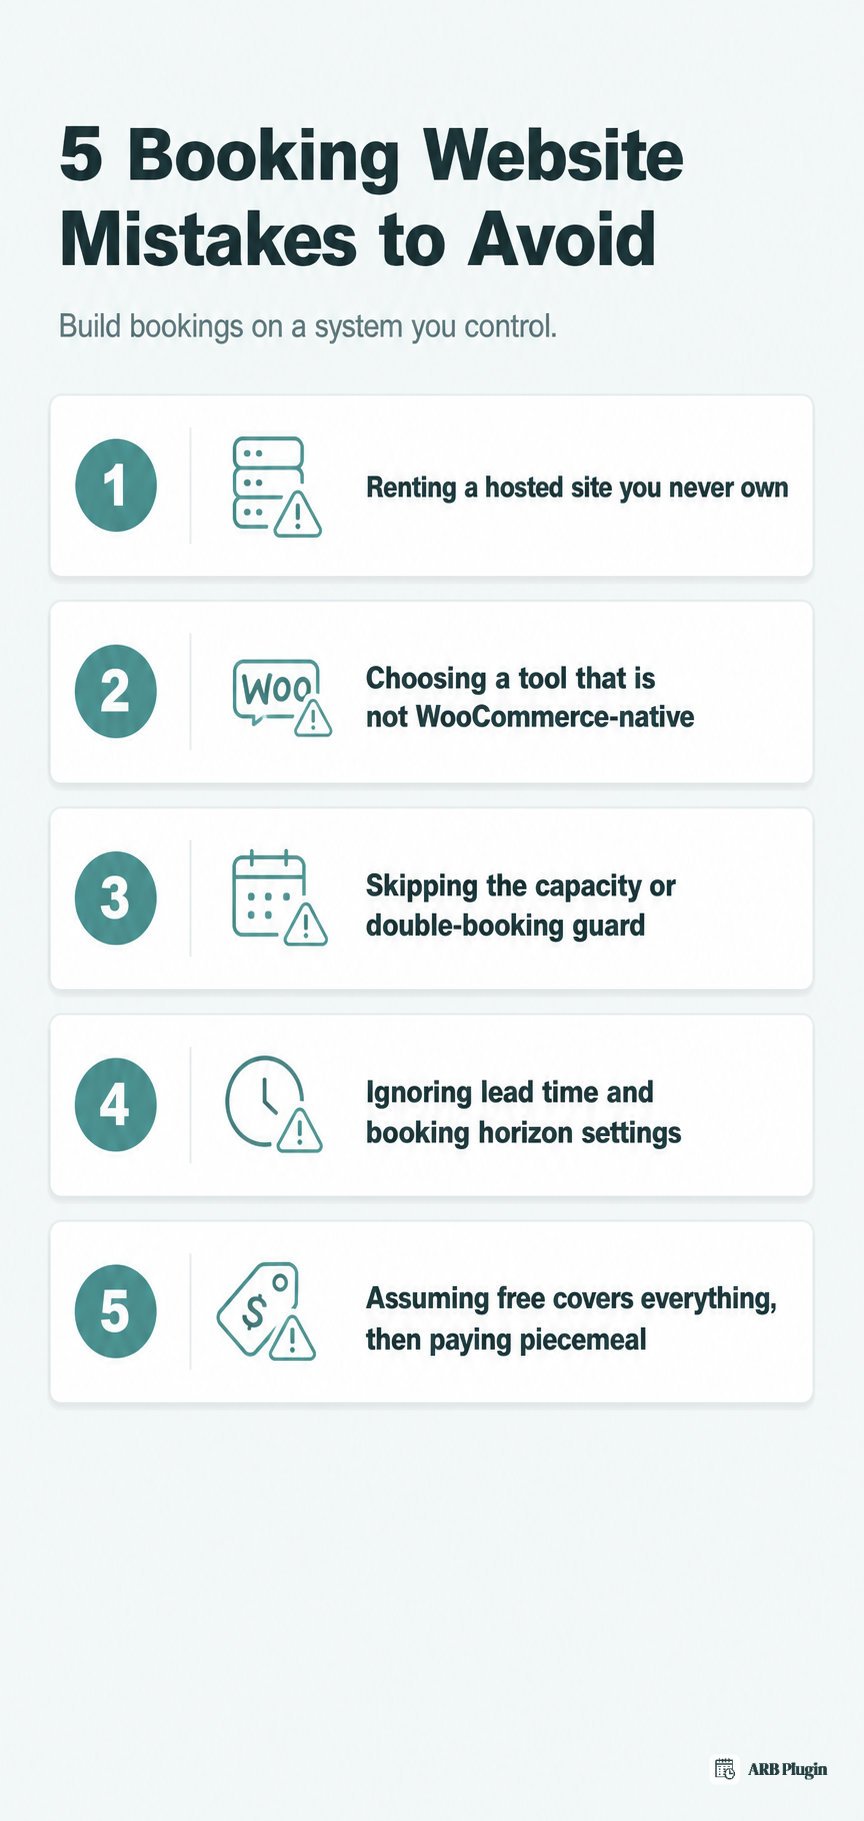
The most damaging mistake is launching without a capacity or double-booking guard configured. Everything else on this list costs time or money; this one costs a customer relationship.
- Renting a hosted site you never own. Feature or price walls hit fast once your booking rules get complex, and migrating your data elsewhere is hard. Own the site on WordPress if you expect that complexity.
- Choosing a booking tool that is not WooCommerce-native. Payments, taxes, and orders live in a separate system, and reconciling two systems breaks down over time. Pick a plugin that runs bookings through your existing WooCommerce checkout.
- Skipping the capacity or double-booking guard. Two customers grab the same slot, staff member, or room without a Max Reservations per Slot limit and per-resource availability. Set both before you launch, not after the first conflict.
- Ignoring lead time and booking horizon settings. Customers book same-hour slots or dates far outside your real availability. Set a minimum lead time and a booking horizon that match how far ahead you can actually serve someone.
- Assuming "free" covers everything, then paying for add-ons piecemeal. Hosting, a domain, a capable plugin, and any add-ons add up to a real number, even on the WordPress route. Price the full stack up front, not one line item at a time.
FAQs
How much does it cost to build a booking website?
A basic WordPress booking site runs about $15 to $40 a month for hosting and a domain, plus WordPress and WooCommerce for free. Add a one-time plugin fee, often $50 to $250, once you need rules beyond a simple date picker.
Is there a free booking website option?
Yes, hosted, all-in-one site builders offer free tiers for a basic booking page. Every free tier caps something, such as monthly bookings or service types. Complex booking rules eventually need a paid plugin instead.
How long does it take to build a booking website?
A basic site takes about a day once your domain, hosting, and content are ready. A fully configured booking flow, with pricing rules, resources, and payments tested end to end, usually takes a few days.
How do I create a booking URL or link?
Your domain is the root of every booking link you send. A single service's direct link, generated from its own Reservable Product page, works as a shareable booking URL on its own.
Can I build a booking website without coding?
Yes. WordPress, WooCommerce, and a booking plugin cover the entire build through their own admin screens, with no code required at any step in this guide.
Do I need WooCommerce to add bookings to WordPress?
Yes, on the route this guide demonstrates. The booking plugin used from Step 5 onward is a WooCommerce extension, so it needs an active WooCommerce store to run inside.
Can one booking website handle different services with different prices?
Yes. Person types and resources each carry independent pricing. Range-based rules also add or remove cost by date, time, person count, or day of week.
How do I stop double bookings on my site?
Set a Max Reservations per Slot capacity limit and per-resource availability rules before launch. Together, they block a second customer from grabbing a slot, staff member, or room that is already taken.
Nine steps take you from a blank domain to a live site that takes real bookings and payment. ARB is built for genuinely complex rules: per-person and per-resource pricing, capacity limits that stop double-bookings, and quote-first workflows. It adds a Reservable Product to the WooCommerce store you just built, for a one-time license instead of a subscription. Try the live ARB booking demo and run a real booking through it before you build your own.