
Create a Simple Check-out Form for Your Online Store

One of the most important aspects of a successful online store is an effective call to action. Inviting your visitors to purchase your product or service requires a straightforward and easy to fill check-out form. And here is how to create one in just 30 minutes.
To start you off, you need three main tools namely HTML, CSS3 and jQuery. These are the coding languages to guide you in creating the checkout form. CSS3 and HTML will take care of how the form looks and how it is presented on the internet. jQuery is the writing language you will be using which works pretty fast and requires less effort.
Start with HTML
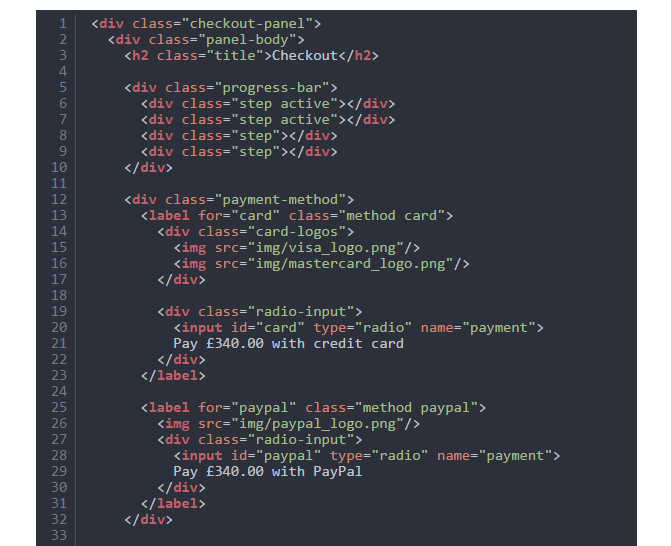
This is going to be the structure that will house all the code you create before presenting it as a neat check-out form online. Here you create the body and the footer for the form. The body encompasses the required steps to check out a product, the payment options available and input fields e.g. size or quantity of a product. The footer basically carries one or two buttons that serve the purpose of completing the transaction.
Here is a diagram of the steps
Then CSS
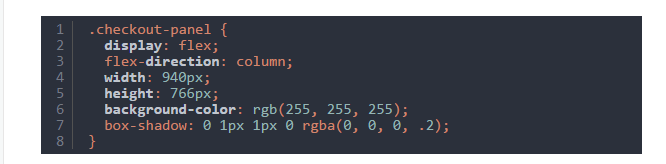
Now that you have the basic look of the checkout form in cord, you can now make it more appealing using CSS. Here you determine what font to use, the dimensions you want the form to be in and the position the form will take on your webpage; right, center or left.

Now decide how many pixel-dimensions you want the panel to be in. In this case, it’s 940 X 766 pixels.
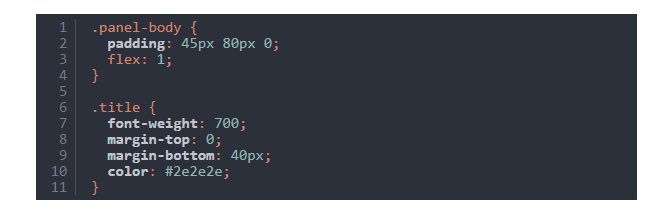
Throw some tweaks on the body and all elements within it as well.
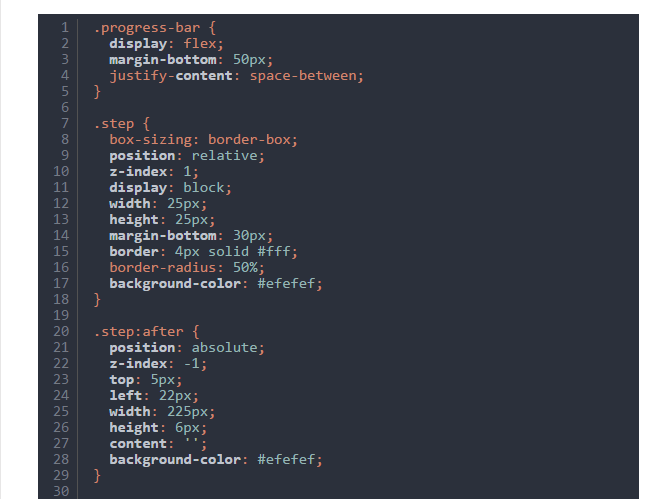
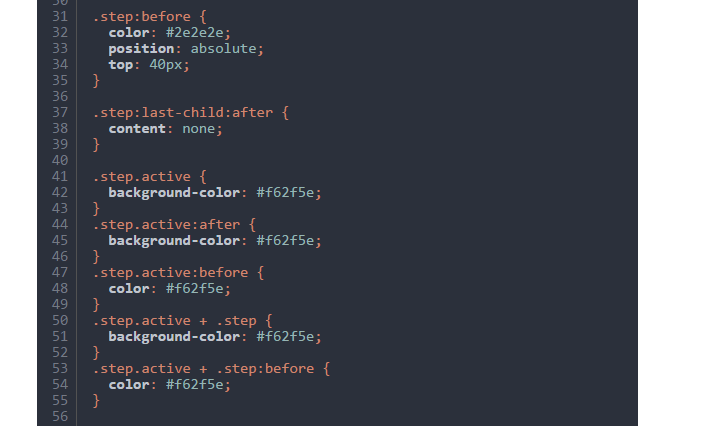
After that, work on the progress bar adding some before & after tweaks
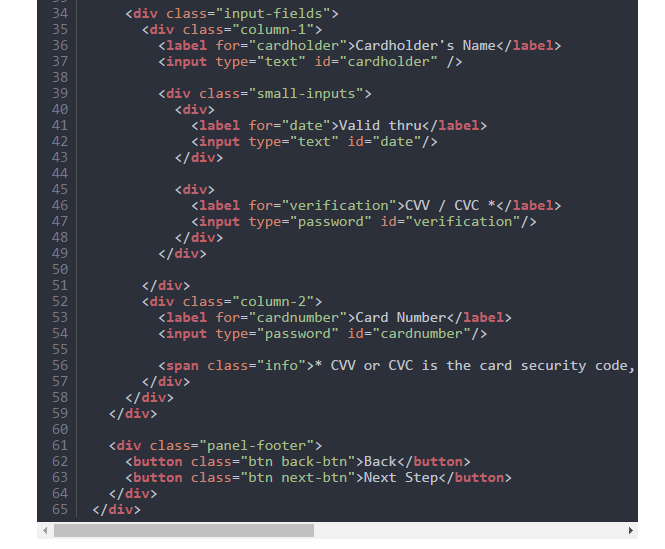
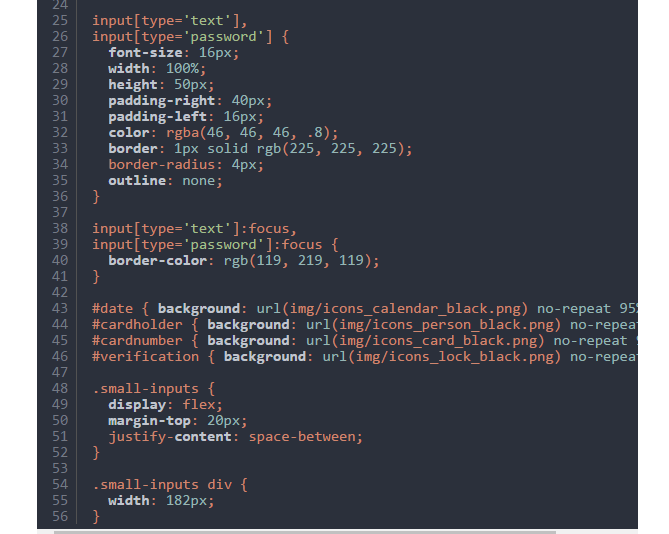
You now work on the payment method layout, which is outlined below. Generally, payments methods involve both credit cards on online merchant options like PayPal. Make sure you separate both options in two equal columns then align with Flexbox.
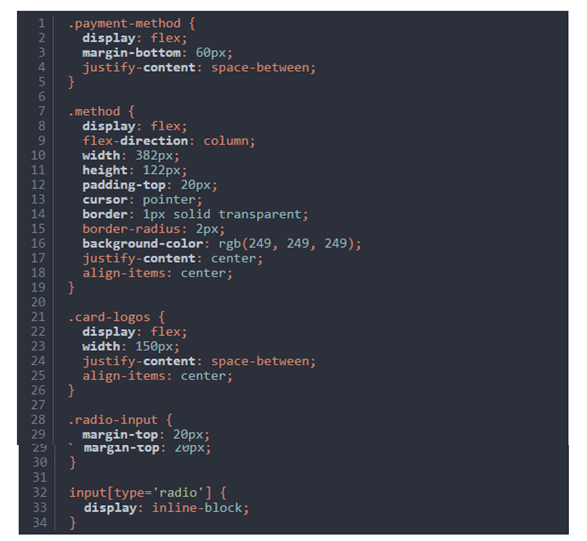
Done. Now to add some color to the borders and icons for each payment field follow the following code:
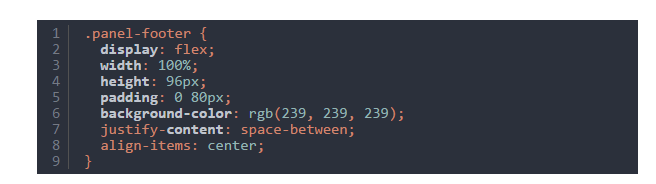
The footer also needs to be styled with the ‘Back’ and ‘Next’ button as shown below:
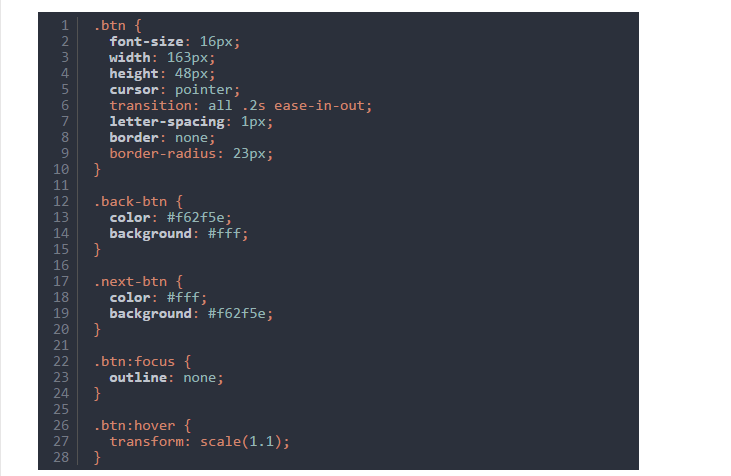
Throw in some color and animation to make them more appealing and easy to hover on with a mouse pointer:
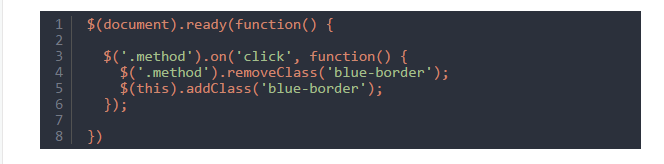
You are almost at the finish line. The payment method needs to be modified in a way that it changes color when checked; signifying the transactions is complete. This is where you use jQuery to add a custom blue border as shown below:

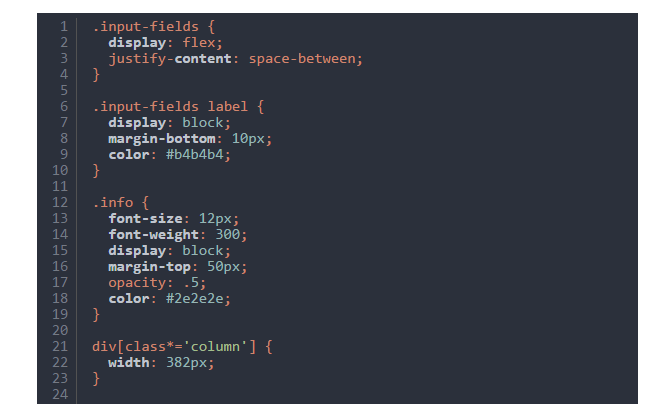
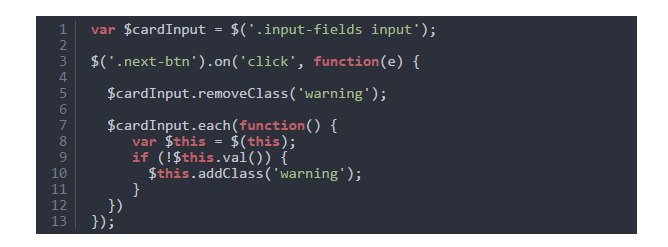
Final touches- You need to validate the input fields too by adding a CSS file ‘.warning’. This makes the border of the input field should the input field be empty when clicked.

Finally, validating the JS file as well:
You now have a ready check-out form that will help sell your products fast 🙂
Please share your thoughts to make the form more attractive and functional.
For more tutorils on WordPress, SEO, Making money online, Google toools etc, just have a look at out at our latest articles