Once ‘The Maxhost Extensions’ plugin is activated ‘Mega Menu’ is available in your admin area.

Enable Elementor for Mega Menu (2 Steps)
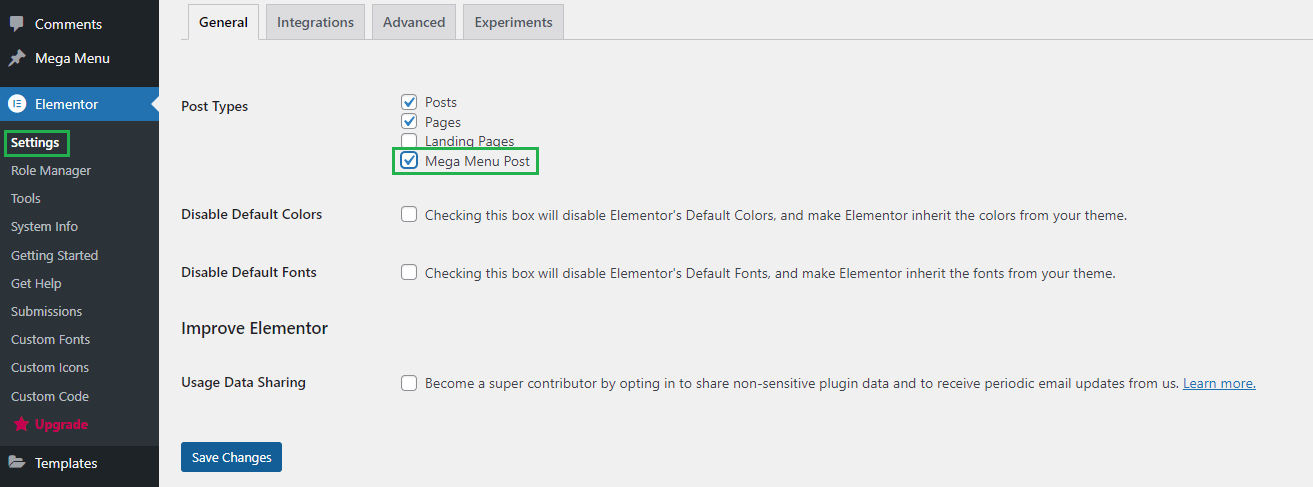
- Navigate to Elementor > Settings > General
- In Post Types check ‘Mega Menu Post’ box.
Add a new Mega Menu item (5 Steps)
- Navigate to Mega Menu > Add New
- Give it a title, lets say “Mega Menu One” item. The title is not used anywhere in displaying the menu.
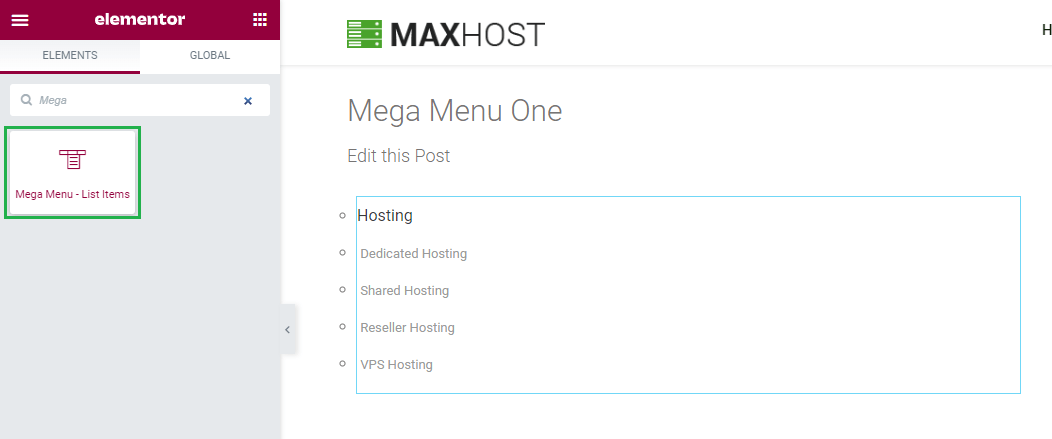
- Click on ‘Edit with Elementor’. It will display Elementor front-end Editor. We will use this editor to build our Mega Menu item.

- Click on ‘+’ icon and from the elements area find ‘Ft- Mega Menu – List Items’
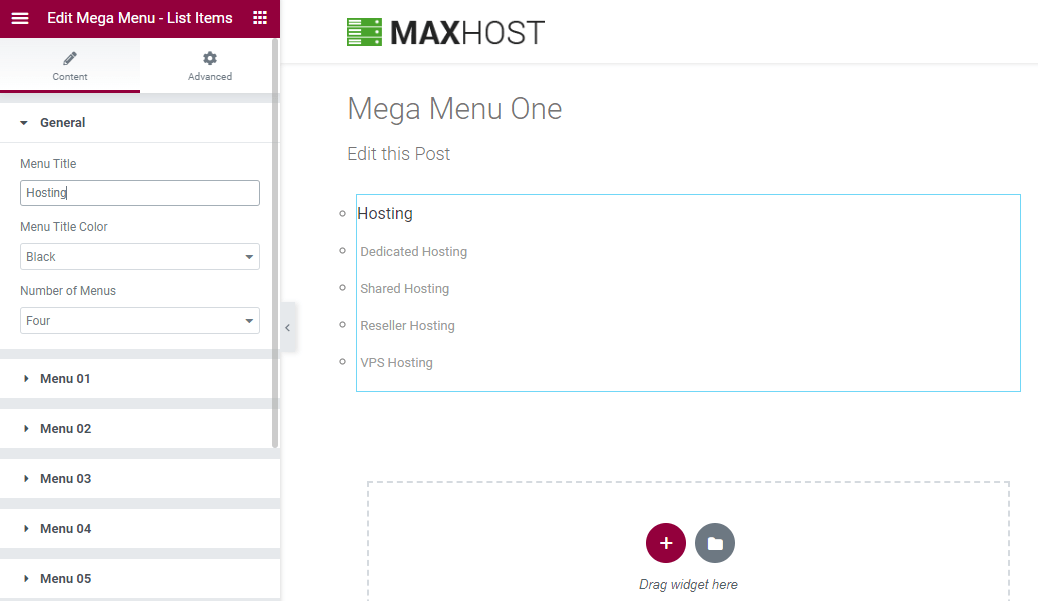
Note: Each element should be in one single column. Do not insert more than one mega menu element in one column.
- In the Mega Menu elements settings popup you can fill the form by inputting your menus, URLs, images.
Adding Mega Menu item as a submenu to a top level menu item (7 Steps)
- Navigate to Appearance > Menus.
- On top right corner of your screen, you will find a dropdown menu Screen Options. Click on it.
- Make sure ‘Mega Menu Post’ and ‘CSS Classes’ are checked.

- Choose the Main Menu as the menu location, since only Main Menu supports Mega Menu in our theme.
- Now check the Test Mega Menu item and click on Add to menu.

- Drag the Test Mega Menu item box and drop it under any existing menu as a submenu

- If you want the menu as wide as you see in the theme preview, write ‘wide-menu’ in the CSS Class field of the parent menu. In this case ‘Blog’ is the parent menu of the sub Mega Menu

- Now the Mega Menu is added as a submenu of Blog and it should look like this:

Important Note: Please do not use Mega Menu as a top level menu item or as submenu menu item beyond level 1. Do not use other menu items with Mega Menu item.